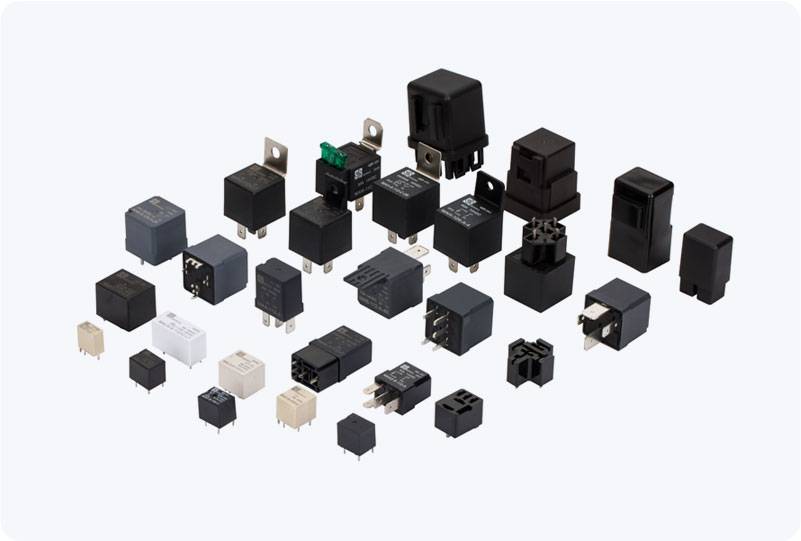
Testing an industrial relay is an essential skill for anyone involved in industrial maintenance, troubleshooting, or electrical engineering. Relays are fundamental components in many electrical systems, used to control high-voltage circuits with low-voltage signals. Over time, relays may malfunction due to wear, dirt, or electrical stress, causing them to fail to operate as intended. A multimeter is a useful tool for testing the functionality of relays, as it allows for checking both the continuity of the contacts and the coil operation. Here is a step-by-step guide on how to test an industrial relay with a multimeter.

Step 1: Understand the Relay Components Before testing, it’s important to understand the key components of a typical industrial relay. An industrial relay consists of two main parts: the coil and the contacts. The coil is energized with current to activate the relay, while the contacts either open or close depending on the relay’s state. Coil: The coil creates a magnetic field when current is applied, causing the contacts to change positions. Contacts: There are typically multiple sets of contacts in a relay, usually categorized as Normally Open (NO) or Normally Closed (NC). These contacts control the flow of electricity to other components.